Is your car's AC blowing warm air on a hot day? A faulty compressor might be the problem, and figuring it out can be frustrating. Let's diagnose it together.
The quickest way to test an auto air conditioning compressor is to perform a visual and functional check. Start the car, turn on the AC, and listen for the "click" of the clutch engaging. Observe if the center of the pulley spins with the belt. No click or no spin often points to a compressor issue.
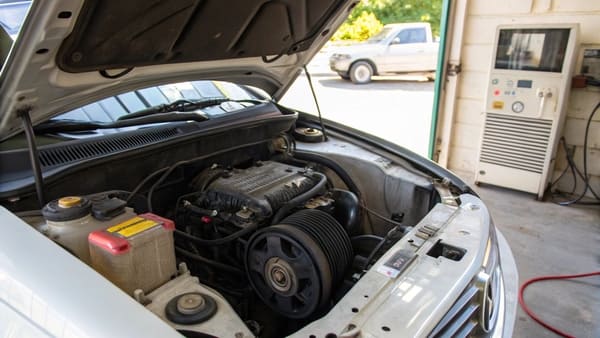
When your car feels more like an oven than an oasis, a broken AC is the last thing you need. The air conditioning compressor is the heart of the system, but it's also a common point of failure. Before you rush to buy expensive parts or pay for a lengthy repair, a few simple diagnostic steps can help you pinpoint the exact problem. This guide will walk you through the process, helping you understand what to look for, what tools you'll need, and how to make an accurate diagnosis. Let's get that cool air blowing again.
How Do You Know If Your Auto AC Compressor Is Bad?
Your AC is failing, but you're not sure why. It could be a simple leak or a more serious internal failure, leaving you sweating and guessing what to do next.
You'll know your auto AC compressor is likely bad if you notice several key symptoms. These include the AC blowing warm air, loud grinding or squealing noises when the AC is on, visible refrigerant leaks around the compressor body, or a clutch that fails to engage.
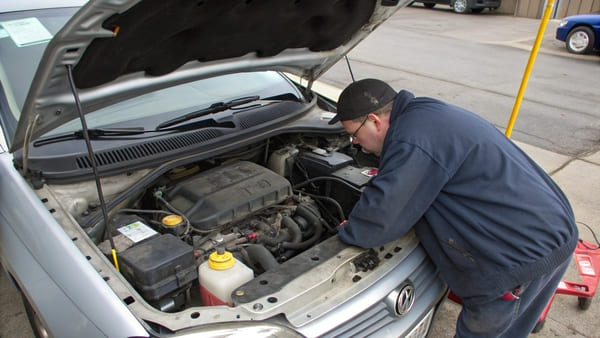
Before we even touch any tools, your car will often give you clear signs that the compressor is in trouble. These symptoms are your first clues in the diagnostic process. Paying attention to what your car is telling you can save you a lot of time and help you focus your efforts. A compressor failure isn't always silent or sudden; it often starts with subtle warnings that get worse over time. Let's break down these warning signs so you know exactly what to look and listen for.
Common Failure Symptoms
The AC compressor is a complex mechanical part, and its failure can show up in a few different ways. Understanding these signs is the first step toward a correct diagnosis.
| Symptom | What It Means |
|---|---|
| Warm Air from Vents | This is the most obvious sign. If the compressor isn't pressurizing the refrigerant, the cooling cycle can't begin. The air just passes through without being cooled. |
| Loud Noises | A grinding or seizing sound points to internal mechanical failure, like worn-out bearings. A squealing noise could be a worn belt, but it can also indicate the compressor is about to seize and is putting a heavy strain on the belt. |
| Leaking Fluid | The compressor has seals that can fail over time. If you see a greasy, oily substance on the compressor body, it's likely a mix of refrigerant and lubricating oil leaking out. |
| Clutch Not Engaging | The compressor clutch is supposed to "click" and engage when you turn on the AC. If it doesn't move, it could be a bad clutch, a bad coil, or an electrical issue preventing the signal from reaching it. |
What Tools Do You Need to Test an Auto Air Conditioning Compressor?
You suspect the compressor is the culprit, but you can't be sure without testing it. Trying to diagnose it without the right equipment can lead to guesswork and costly mistakes.
To properly test an AC compressor, you need a few essential tools. The core items are an AC manifold gauge set to check system pressures, a multimeter for electrical tests, and basic safety gear like gloves and eye protection. These tools allow for a complete diagnosis.
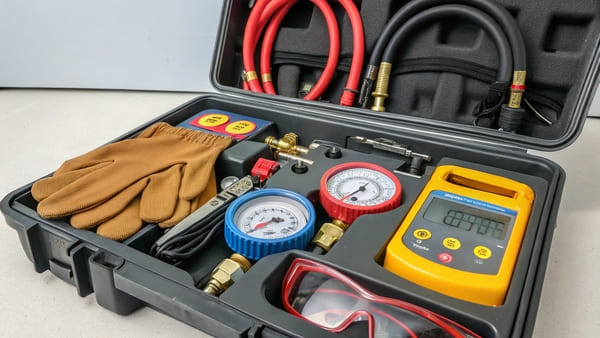
Having the right tools is half the battle. You don't need a professional workshop, but a few key pieces of equipment are non-negotiable for an accurate diagnosis. Using the correct tools not only ensures you get reliable test results but also keeps you safe. Working with pressurized refrigerant systems and electrical components requires caution. This list covers the essentials you'll need to move from suspecting a problem to confirming it with data.
Your Diagnostic Toolkit
Each tool has a specific job in the diagnostic process. Understanding what each one does will help you perform the tests confidently and correctly. Let's look at what you need and why.
| Tool | Purpose & How to Use It |
|---|---|
| AC Manifold Gauge Set | This is the most important tool for AC diagnostics. It connects to the low-side and high-side service ports to measure refrigerant pressure. Correct pressures tell you if the compressor is working efficiently. Low pressure on both sides might indicate a leak, while incorrect readings can point directly to a failing compressor. |
| Multimeter | This device is for checking electrical problems. You can use it to test the AC compressor clutch coil for proper resistance. An open circuit (infinite resistance) means the coil is broken and needs replacement. You can also use it to check if voltage is getting to the clutch connector when the AC is turned on. |
| Safety Goggles & Gloves | This is a must. Refrigerant can cause severe frostbite if it contacts your skin and can permanently damage your eyes. Always wear protective gear when working with AC lines or connecting gauges. |
| Basic Hand Tools | You'll likely need a set of sockets and wrenches to access the compressor or its electrical connectors, which can often be in tight spots in the engine bay. |
How Do You Perform a Visual Inspection of an AC Compressor?
You're ready to start testing, but the engine bay is a maze of parts. Just jumping in with gauges can be confusing if you don't know what you're looking for first.
Begin your visual inspection with the engine off. Look for obvious signs of damage like cracks in the compressor body, oily residue indicating a leak, a frayed serpentine belt, or damaged wiring. This simple first pass can often reveal the root cause of the problem immediately.

A thorough visual inspection is a powerful diagnostic step that costs nothing but a few minutes of your time. Many compressor failures leave behind obvious physical evidence. Before you connect any gauges or meters, take a careful look at the compressor and its surrounding components. Sometimes, the problem is staring right at you. I've learned from my years in manufacturing that even the smallest visual flaw can point to a much larger issue with how a part was made or how it failed.
What to Look For
Let's break down the visual inspection into two stages: engine off and engine on.
Engine Off Inspection:
- Check for Leaks: Carefully examine the compressor body, seals, and the hose connections. Look for a buildup of dirt and grime stuck to an oily film. This is a classic sign of a refrigerant leak.
- Inspect the Serpentine Belt: Look at the belt that drives the compressor pulley. Is it cracked, frayed, or glazed? A bad belt can slip, causing poor performance or noise.
- Examine the Clutch: Look at the clutch assembly at the front of the compressor. Does it look burnt, rusty, or physically damaged? Check the small air gap between the clutch plate and the pulley.
Engine On Inspection:
- Observe the Clutch: With the engine running, have someone turn the AC on and off. You should hear an audible "click" as the clutch engages, and the center plate should start spinning with the pulley. If it doesn't engage, clicks rapidly, or makes a loud grinding noise, you've found a major clue.
From my experience in manufacturing these parts, even the plastic components on a compressor are incredibly important and difficult to produce correctly. The precision required for plastic structural parts in an AC compressor is very high; standard injection molding machines often can't meet the tolerances. The cooling stage of the molding process is the most challenging. I remember my first project for a client in Pakistan involving these plastic parts. We had issues with the parts "shrinking" too much after cooling. Luckily, the client actually preferred the slightly smaller fit, but it taught us a valuable lesson. The process of adding color pigments is also tricky because it requires stopping the machine and opening the mold, which complicates the cooling process further. So, when you're inspecting your compressor, don't dismiss a crack or warp in a plastic housing. It could be a sign of a low-quality part that's about to fail.
Conclusion
By following these steps—checking symptoms, using the right tools, and performing a thorough visual inspection—you can accurately diagnose most common AC compressor problems and avoid unnecessary repairs.